Synology DiskStation DS1813+ HDD and SSD installation instructions
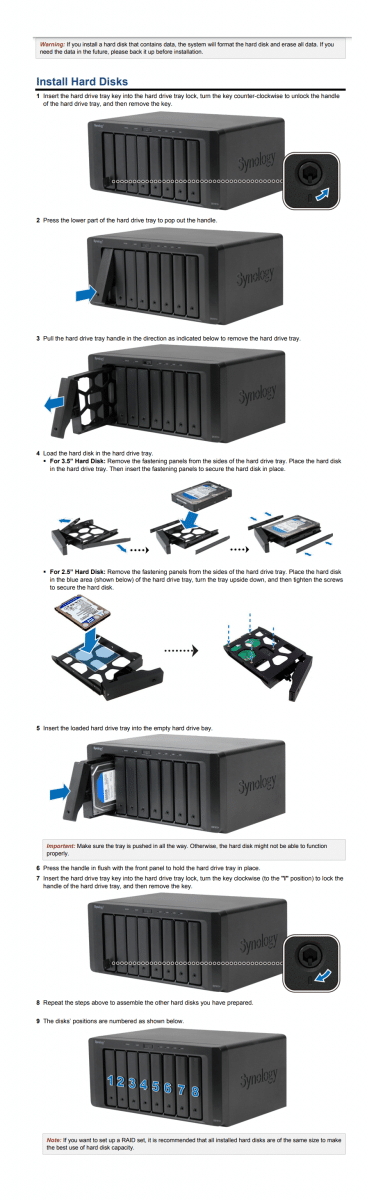
- Insert the hard drive tray key into the hard drive tray lock, turn the key counter-clockwise to unlock the handle of the hard drive tray, and then remove the key.
- Press the lower part of the hard drive tray to pop out the handle.
- Pull the hard drive tray handle in the direction as indicated below to remove the hard drive tray.
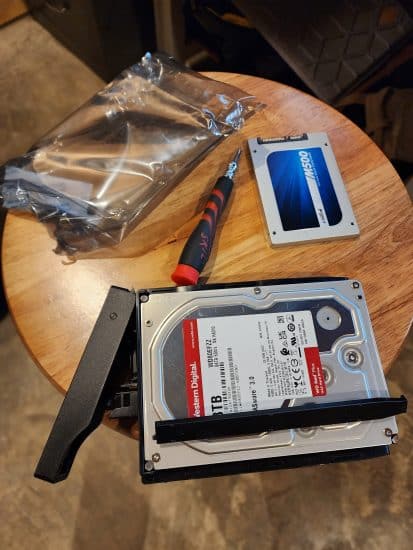
- Load the hard disk in the hard drive tray.
- For 3.5” Hard Disk: Remove the fastening panels from the sides of the hard drive tray. Place the hard disk in the hard drive tray. Then insert the fastening panels to secure the hard disk in place.
- For 2.5” Hard Disk: Remove the fastening panels from the sides of the hard drive tray. Place the hard disk in the blue area (shown below) of the hard drive tray, turn the tray upside down, and then tighten the screws to secure the hard disk.
- Insert the loaded hard drive tray into the empty hard drive bay.
- Important: Make sure the tray is pushed in all the way. Otherwise, the hard disk might not be able to function properly.
- Press the handle in flush with the front panel to hold the hard drive tray in place.
- Insert the hard drive tray key into the hard drive tray lock, turn the key clockwise (to the “I” position) to lock the handle of the hard drive tray, and then remove the key.
- Repeat the steps above to assemble the other hard disks you have prepared.
- The disks’ positions are numbered as shown below
Top Search Terms:
- https://www.jdhodges.com/blog/synology-diskstation-ds1813-hdd-and-ssd-installation-instructions/ (1)