Lenovo X220 (X230, X240) disassembly & SSD upgrade guide
Please find below photos showing Lenovo ThinkPad X220 disassembly and mSATA SSD upgrade. WiFi is also easily upgradeable (make sure to get whitelisted card or modified BIOS) Lastly, 2.5″ SSD is upgradeable without even opening up the case 😉
My preference to have an integrated SSD (using mSATA) as well as a drive in the 2.5″ bay. This allows for easy backups and some redundancy in the event of drive failure. It also allows for separation of programs (and boot device) from data (non-bootable) if desired.

Disconnect power and remove battery before starting
I hope the photos are helpful and I also recommend checking the service manual for disassembly instructions and diagrams 🙂
-

- Disconnect power and remove battery before starting
-
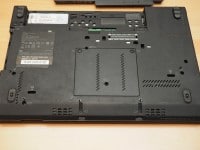
- Remove screws from bottom of case
-
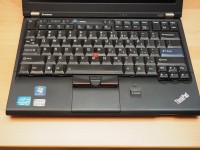
- With keyboard screws removed
-
- Slide keyboard up to remove
-
- Gently raise keyboard, be mindful of the ribbon cables
-
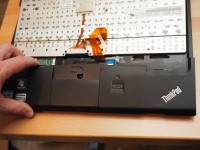
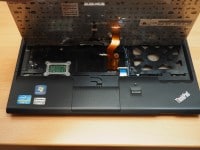
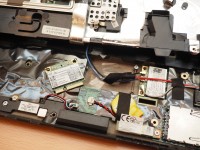
- Remove palm rest
-
- Raise palm rest
-
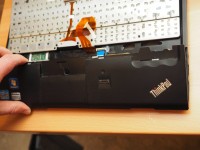
- Gently fold keyboard over
-
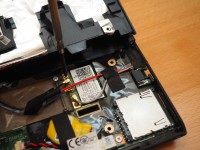
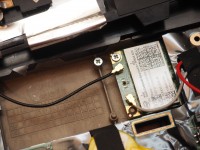
- Access to mSATA port and WiFi card
-
- OLYMPUS DIGITAL CAMERA
-
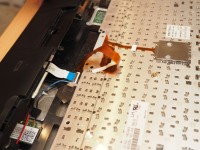
- New WiFi card to be installed
-
- OLYMPUS DIGITAL CAMERA
-
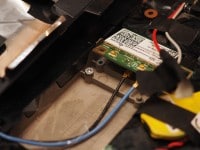
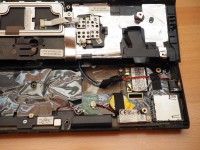
- Gently insert card
-
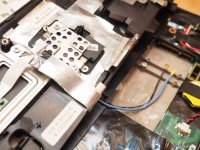
- Secure wifi antenna connectors
-
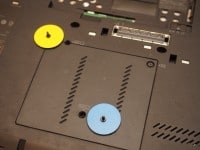
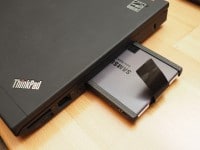
- 2.5″ HDD/SSD replacement does not require removing the cover
-
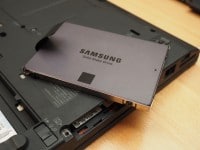
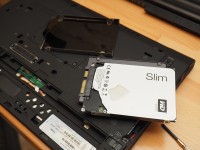
- Samsung SSD in X220
-
- Samsung 2.5″ SSD being inserted
-
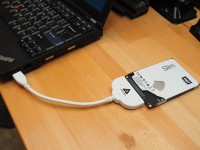
- Cloning from HDD to SSD
WIFI NOTE: currently (as of 2016/01/11) I do not recommend using the colored antenna cables for WiFi, rather just use the white (grey) and black as shown in the service manual or if your X220 shipped with three WiFi antennas, use the appropriate cables.
- x230 teardown (7)
- x220 back panel (4)
- lenovo x230 disassembly (3)
- x220 teardown (2)
- lenovo x22 disamble (1)
- lenivo x220 teardown (1)
- how to upgrade msata thinkpad x240 (1)
- how ro disassemble a lenovo x230 (1)
- dissasemblu thinkpad x230 (1)
- disassembling thinkpad x220 (1)
This sata cable be the hardest one I had to remove in my whole lifetime
Sorry to hear about the issues! I hope the upgrade went well and that you are enjoying your ThinkPad 🙂
-J.D.