Comparison list of various laptops and PCs
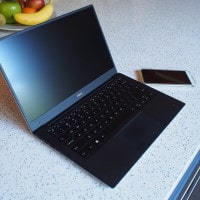
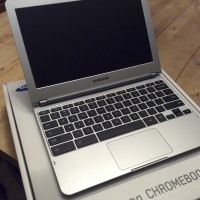
Updated for 2024 Random PCs and laptops I have used in the past for work and play: Lenovo T14 Gen4 Processor AMD Ryzen™ 7 PRO 7840U Processor (3.30 GHz up to 5.10 GHz) selected upgrade Operating System Windows 11 Pro 64 selected upgrade Operating System Language Windows 11 Pro 64 English selected upgrade Microsoft Productivity Software None Memory 32 GB LPDDR5X-6400MHz (Soldered) selected upgrade Solid State Drive 1 TB SSD M.2 2280 PCIe Gen4 Performance TLC Opal selected upgrade Display 14″ WUXGA (1920 x 1200), IPS, Anti-Glare, Non-Touch, 100%sRGB, 400 nits, 60Hz,