Make your kid’s Superheros Super-Magnetic! [KidCraft, DIY]
NOTE: this entry marks a new category on my blog called “KidCraft” it will contain fun projects to benefit kids. This particular project is meant for parents to enhance their kid’s toys, but future projects will be for kids to do themselves… Step-by-step photos can be found at the end of the entry
Superhero Madness!
My one year old daughter has a little four year old friend that is absolutely gaga over superheros. The boy is extreme when it comes to superheros, if it is anything to do with super-heroes, he is all over it.
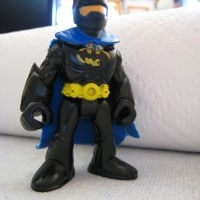
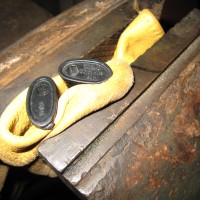
Recently he gave me one of his Batman figurines that had a dirty cape. I used some rubbing alcohol and natural cleaner to clean it almost good as new. But then an idea struck me: why not give this little mini-superhero some magnetic boots?!

Where to get the superhero magnets? Amazon of course 😉
Thankfully, at my house we use lots of small rare earth magnets. They are exceedingly strong for their size and they are pretty cheap too! We use them to post stuff on the fridge or items to take with us as we leave the house (we have a metal door and the magnets work great for putting NetFlix or other envelopes in plain sight).
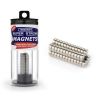
That link is to Amazon where we previously ordered our magnets. At the time it was 50 magnets for $9 USD. At the moment they do not seem to be carrying those specific magnets, but it should be easy to find comparable magnets elsewhere (I will try to finda good source later and post it here).
Now, for the surgery
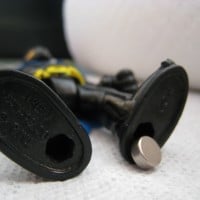
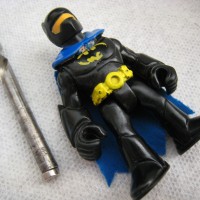
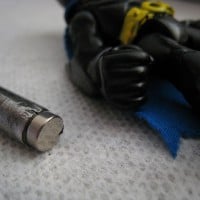
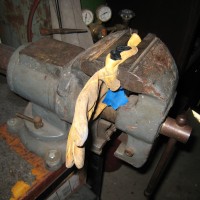
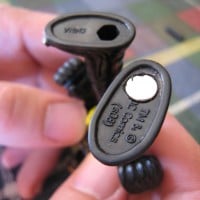
I got out my trusty set of drill bits and commenced to measuring the magnet vs the bits. After finding the ideal matching bit (just slightly bigger diameter than the magnet) I proceed to clamp Batman into the vise. I made sure to use a leather glove to cushion him from the steel grip of the vise. The Joker would not have been so kind… 😉
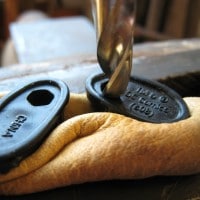
With Batman securely positioned, I proceeded to slowly and very carefully drill out the pre-existing foot peg on the Batman doll. The plastic is soft enough that the drill slices right through it so only a few revolutions of the bit were necessary. It really did a nice job of carving out the plastic and making a perfect spot for our super-magnet!
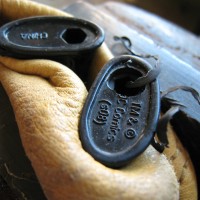
Attaching the magnet: hot-glue
I originally planned to use superglue to attach the magnet in the new hole, but my wife suggested hot glue. She is the glue gun master so I let her do that part. She proceeded to let the glue gun heat up nice and hot before she applied the flue into the hole and slid the magnet into place. A short time later it was time for the first test!
NOTE: I only used one magnet because they are so strong two would have been overkill, also by only using one magnet it stills leaves a foot-peg hole unaltered so the toy can still be attached to other compatible toys.
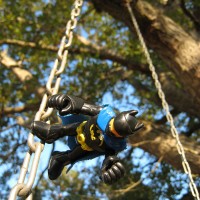
We took Batman over to a vertical metal surface and voila he was able to stick with no problem! I was a little worried that the magnet would pop right out when we tried to detach Batman, but thankfully the magnet was secure and we have had no problems.
SAFETY WARNING: if you have very small children, please be aware that any small parts (like magnets) that could possibly become dislodged can pose a threat to your child. Therefore do not do the project if your superhero toy is going to be played with by small children that are likely to put the doll (or anything attached to it) in their mouth!
Since then, Batman has been finding his way into all sorts of exotic and awesome metallic places that he never could go before. I am super-excited to show the new-improved toy to my young superhero aficionado, I think he will be pleased ! 🙂